
Apple Music debuted in 2015. Last year, Apple introduced a library of high-quality music tracks, adding lossless songs that include Dolby Atmos. On October 3 of this year, Apple announced that the Apple Music library has surpassed 100 million. If you are curious about Apple Music with such a large library of high audio-quality tunes, you can directly renew your subscription ($10.99/month), or you can try the free trial version of Apple Music. At any time, you can unsubscribe from Apple Music when you don’t want to use the service.
However, since Apple Music is a music streaming service, the songs in it will not be available for you after your subscription has expired. So this upcoming article not only describes the ways to cancel your Apple Music subscription on different devices but also guides you on how to save your Apple Music playlist and library permanently, which allows you to still enjoy Apple Music even if your renewal expires. Below we start reading the details!
Tutorial
- Part 1. How to Cancel Apple Music Subscription
- Part 2. How to Keep Apple Music Downloads after Subscription Expired
Part 1. How to Cancel Apple Music Subscription
Once you have activated Apple’s related paid services (such as Apple Music), it will automatically renew after it expires, so how exactly do you turn off the automatic renewal? Here is a quick and easy step-by-step guide on how to unsubscribe from Apple Music on your iPhone/iPad/iPod touch, Mac/PC, and Android.
Tips: If you sign up for a free or discounted trial subscription and do not want to renew, please cancel your subscription at least 24 hours before the trial period ends.
- On iPhone/iPad/iPod touch
- Step 1. Launch the Music app on your iPhone and tap “Listen Now”.
- Step 2. Click the profile icon in the upper right corner.
- Step 3. Click “Manage Subscriptions”.
- Step 4. Click “Cancel Subscription” or “Cancel Trial”.
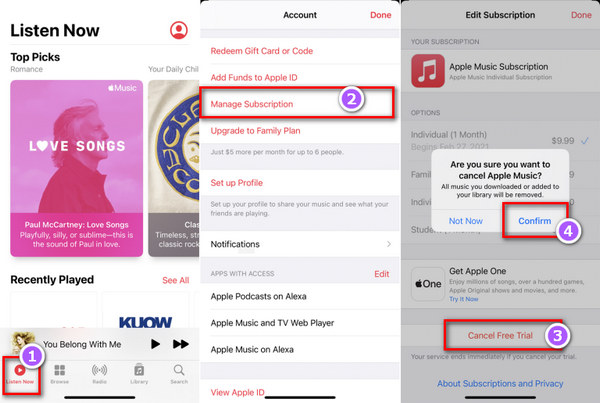
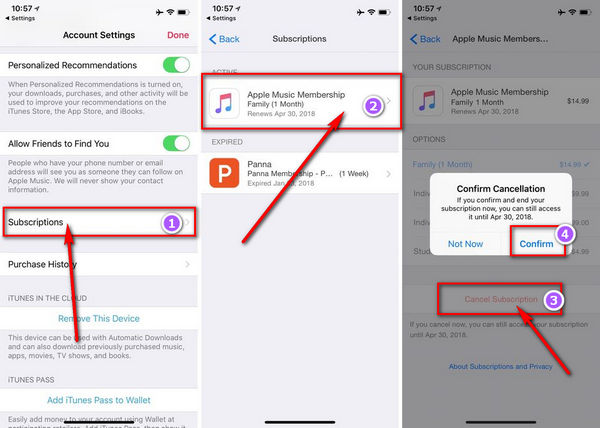
Or, if you uninstalled the Music app, you can still cancel your Apple Music service on your iPhone/iPad/iPod touch: Settings > Your Profile Picture > Subscriptions > Apple Music. Now, simply click “Cancel Subscription” to end your Apple Music membership.
-
On Mac/ WindowsYou can also terminate your Apple Music membership through iTunes on your PC or Music App on your Mac. Just follow the steps below to get started.
- Step 1. Launch iTunes or Music App on your PC or Mac.
- Step 2. Click the Accounts option on the main menu bar, then select View My Account.
- Step 3. Sign in with your Apple ID and password. This will take you to your Apple ID account page.
- Step 4. Scroll down to the “Settings” section. To the right of Subscriptions, click Manage.
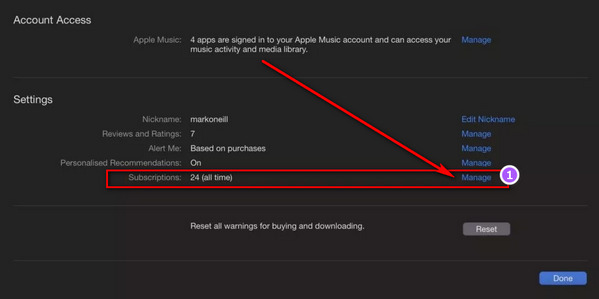 * Step 5. Find your Apple Music subscription, click “Edit” on the right, then click “Cancel Subscription”.
-
On Android
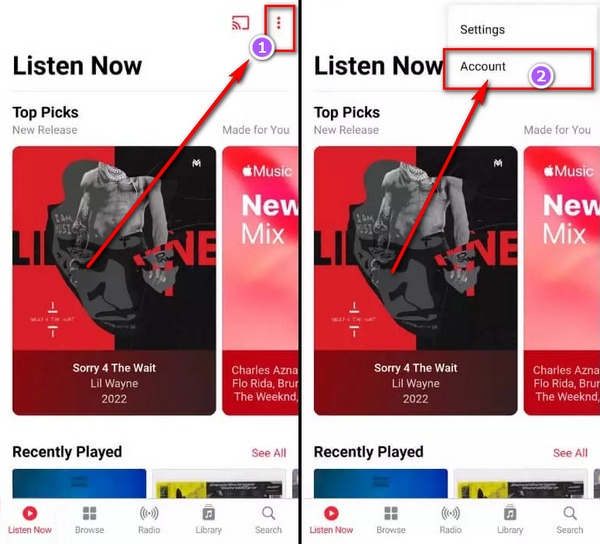
After opening the Apple Music App on your Android device, tap the Menu button (three vertical dots), tap “Account”, and select “Manage” from the menu. Continue tapping “Manage Subscription”, tap “Cancel Subscription”, and then tap “Confirm”. Your subscription will stop at the end of the current billing cycle.
Note: If you cannot find the subscription that you want to cancel, please check Here.
Part 2. How to Keep Apple Music Downloads after Subscription Expired
If you have concerns or doubts similar to the following when canceling your Apple Music subscription, Part 2 can be helpful.
- How do I cancel an Apple Music subscription but keep my playlists and music library?
- Will Apple Music delete the songs I have if I change my subscription?
- How long does Apple Music keep your playlists?
- Will I lose all the music that I acquired from Apple Music if I don’t renew my subscription?
- How could I keep my downloaded music from Apple Music after my trial runs out?
Generally, when your Apple Music renewal expires, you cannot access to the Library. But with an Apple Music Converter, it’s a different story, and in this part, we’ll show you how to use the Apple Music Converter to keep your Apple Music songs forever. But please note that you need to download Apple Music songs with Apple Music Converter before your subscription expires. Let’s take a look at the tool required as well as the specific and easy-to-follow steps on how to use it.
The tool we use today is AudiFab Apple Music Converter, which is an Apple Music download software specially designed to download Apple Music at a 10x speed. With AudiFab, you can easily and effectively download your favorite Apple Music, iTunes M4P Music, audiobooks, and podcasts to MP3, AAC, FLAC, WAV, AIFF, and ALAC. And after the conversion is completed, AudiFab will preserve the ID3 tags and the original high-quality music for you. Plus, music converted by AudiFab Apple Music Converter can be burned to CD for easy listening in the car, saved to USB Drive, added to DJ Software, etc.
AudiFab Apple Music Converter
- Convert Apple Music songs, podcasts, and audiobooks.
- Convert Apple Music to MP3/AAC/WAV/FLAC/AIFF/ALAC format
- Convert iTunes audio at 10X faster speed.
- Keep original audio quality and ID3 tags after conversion.
- Free updates and technical support.
*For macOS 10.14 or below, download V1.4.3.
Now let’s take a look at how this full-featured AudiFab Apple Music Converter saves Apple Music locally so that even if you no longer subscribe to Apple Music, you can enjoy it anytime, anywhere. Before starting, remember to download and install the latest version of AudiFab Apple Music Converter. This program supports up to 11 for Windows, and up to 13 Ventura for Mac. Currently, we give priority to supporting the latest Mac system in the market.
STEP 1** Open AudiFab Apple Music Converter**
Double-click to open AudiFab Apple Music Converter.
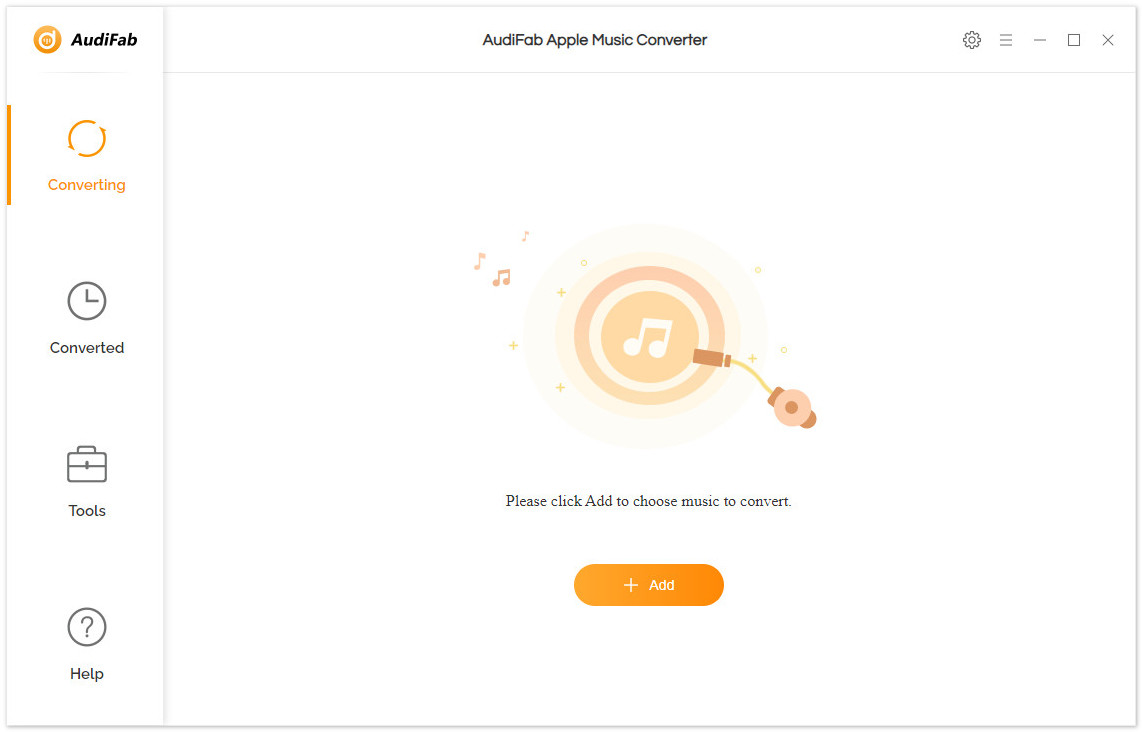
STEP 2** Add Apple Music tracks to AudiFab**
Click “+ Add”, Our program will automatically detect the iTunes/Music in your computer, and then it will pop up all the contents of your Apple Music Library, you can tick the contents you want to download in the pop-up window. Then click “OK”.

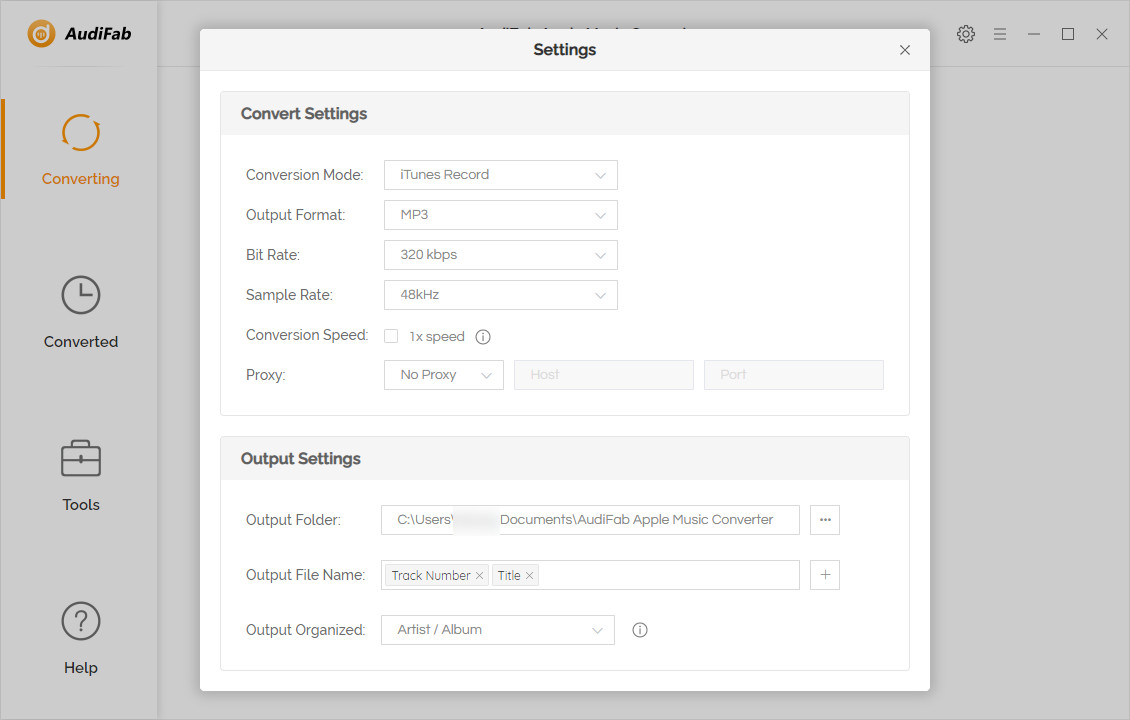
STEP 3** Choose MP3 as the Output Format**
Click the gear button in the upper right corner to go to the settings page, where you can customize the conversion settings and output settings. We can set the output format to MP3 at this step. Next, close the settings window to save the changes.
STEP 4** Convert Apple Music songs to MP3**
Click the Convert button to start converting Apple Music tracks to MP3.
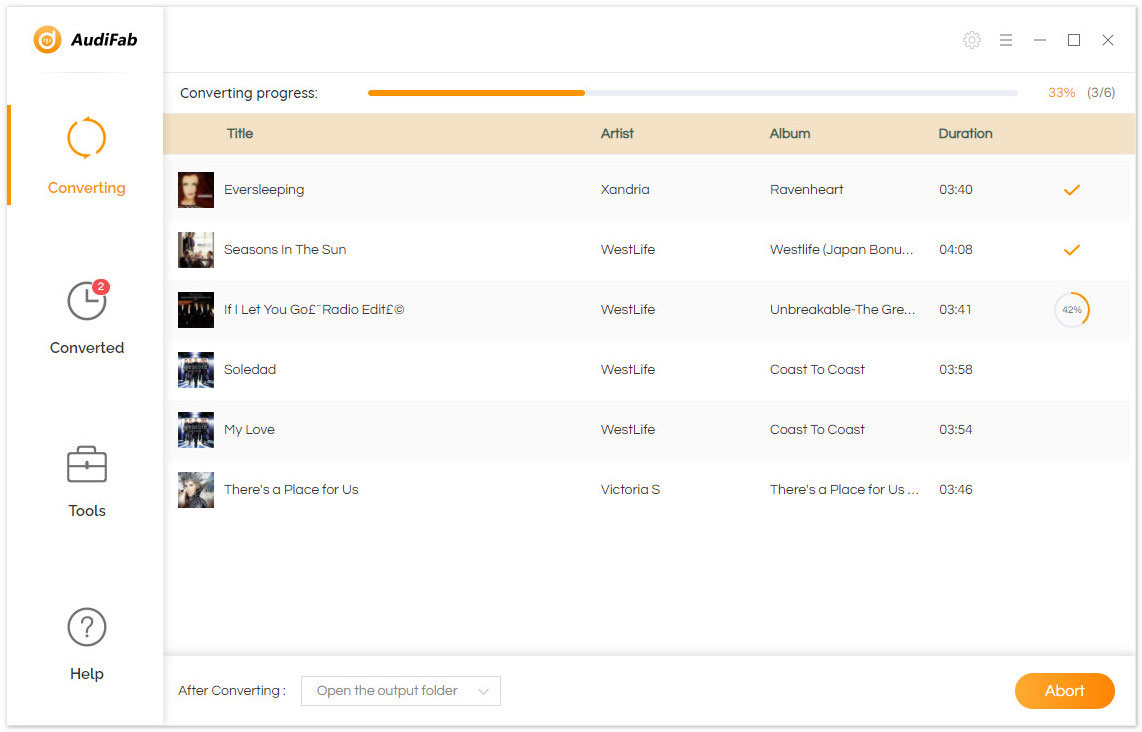
STEP 5 Keep Apple Music downloads forever
After all the songs are downloaded, the folder where the output files are stored will pop up automatically. Now, these downloads belong to you, you can use them as you like, such as adding to DJ software for editing, burning to CD for playing in the car, or transferring to an MP3 player for listening, etc.